
The Dreamlink T1 and T2 are gadgets that let you watch IPTV channels. They have an interface based on the Stalker Middleware, a framework designed to turn these cybernetic channels into a table where the desired channel can be easily chosen for reading.
Basically, these things make it easier to look through all the channels that are available, so you can pick the most interesting ones. The user interface also includes a web browser, a tool for playing videos, and a collection of different programmes.
How to get Dreamlink to work with IPTV
Follow these steps to add channels to your DreamLink device.
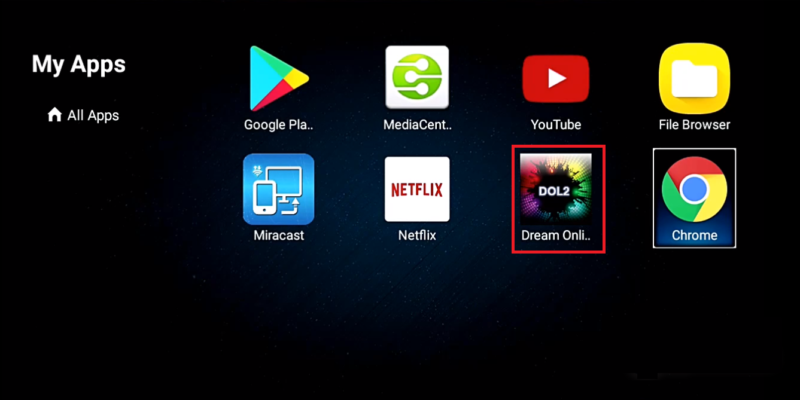
Step 1: Click on “My Apps” on the home page.

Step 2: Click on DreamOnline again.
Note: If you can’t find the DreamOnline (DOL2) app in the My Apps folder, please go to the Market folder, find DreamOnline (DOL2), and start the installation process. After you do this, you’ll be able to find it in the My Apps folder.
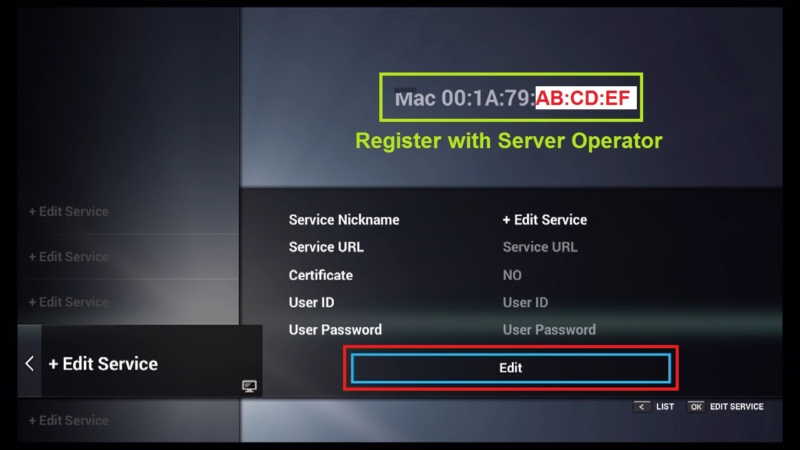
Step 3: Click “Click Edit” after choosing “Edit Service.”
It is very important to make sure that you register on the Server Operator Homepage with the right MAC address if needed.
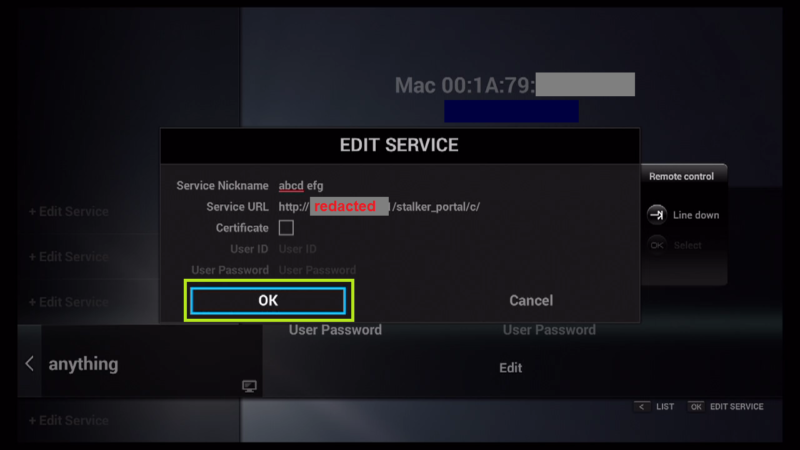
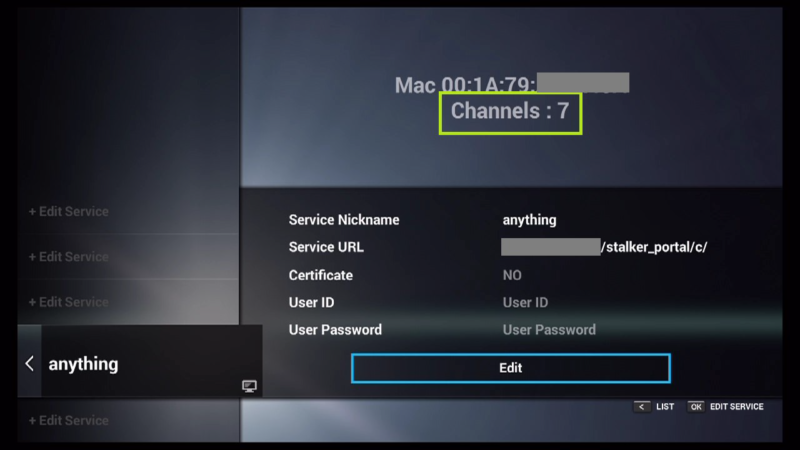
Step 4: Enter a service nickname. It can be any name.
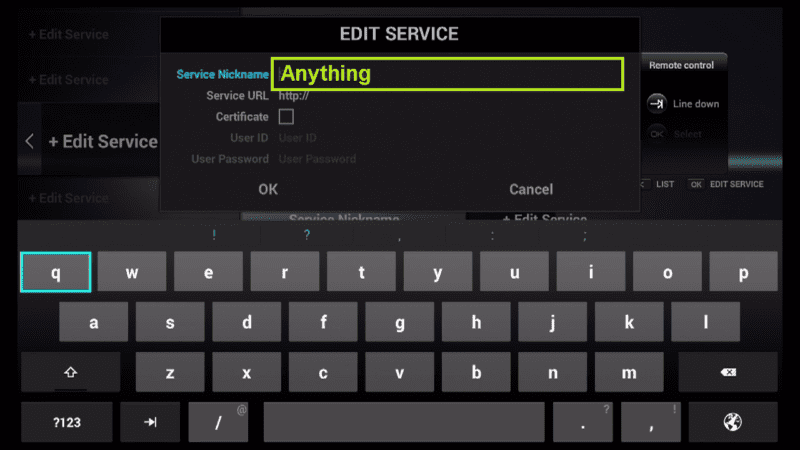
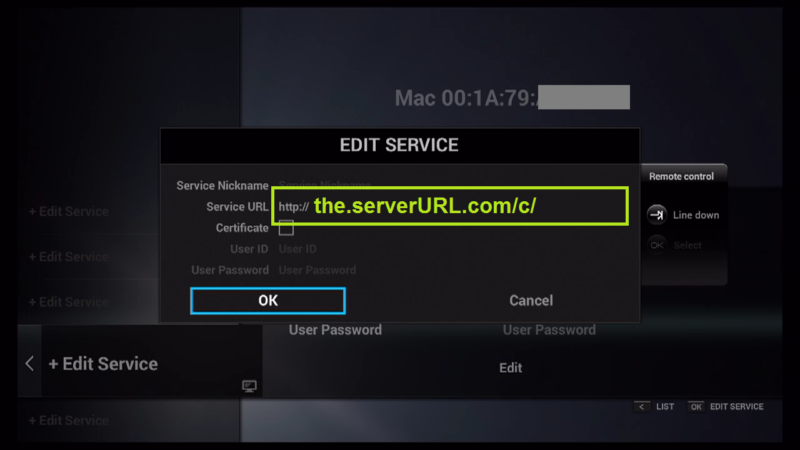
Step 5: Type in the IPTV Server URL (also called the Portal URL) that your Server Operator gives you.
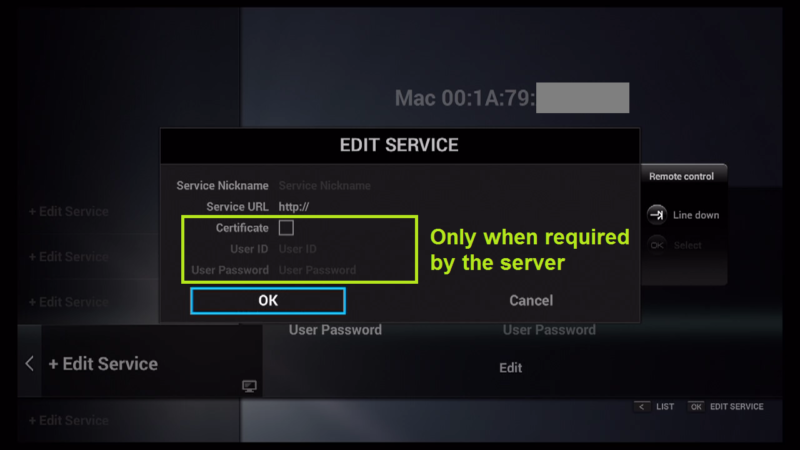
Step 6: You DO NOT need to enter your username and password.
Step 7: Click “OK” now.
Step 8: You are now connected to the IPTV server with the information you put in.
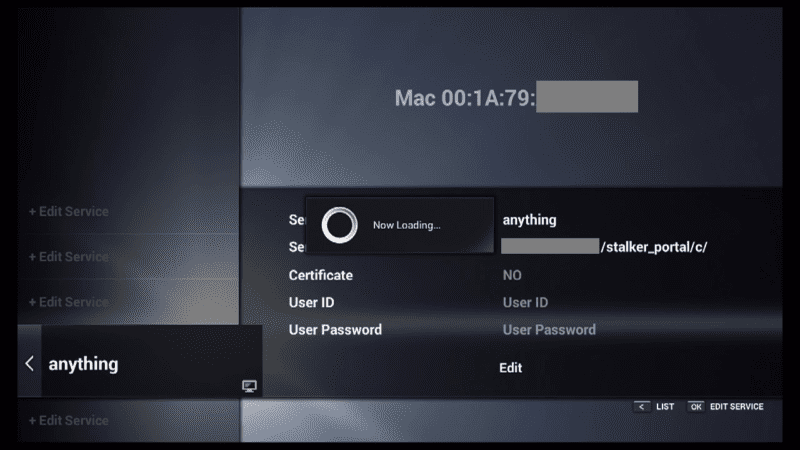
Step 9: The connection worked! You get all of the channels that are linked to your account.
In the comments section, you can ask any questions or give feedback about this article. Your feedback is very important to us, and it will help us make our content better.